Created: 13/11/2013
By: Divya Ranjan
Email: divya.ran7an@gmail.com
Thank you for downloading my theme. If you have any questions that are beyond the scope of this help file, please feel free to email me. Thanks so much!
Table of Contents
- WordPress Installation
- Blogzine Installation
- Create a Custom Menu
- Setting up the Image Slider
- Setting up the Portfolio
- Option Panel
- Google Web Fonts
- Custom Post Type
- Author Details
- Setting up the contact us page
- Setting up the other Pages
- Short codes
A) WordPress Installation - top
One of the best thing that makes wordpress so awesome is it's super easy and painless installation process. You can read all about it here
B) Blogzine Installation - top
Method - 1
Navigate to the "themes" directory within your wordpress files and then place the "blogzine" theme file there.
Method - 2
- Navigate to Appearance -> Themes -> Install Themes, then click on the upload button and select blogzine theme file.
- Install it.
Activation
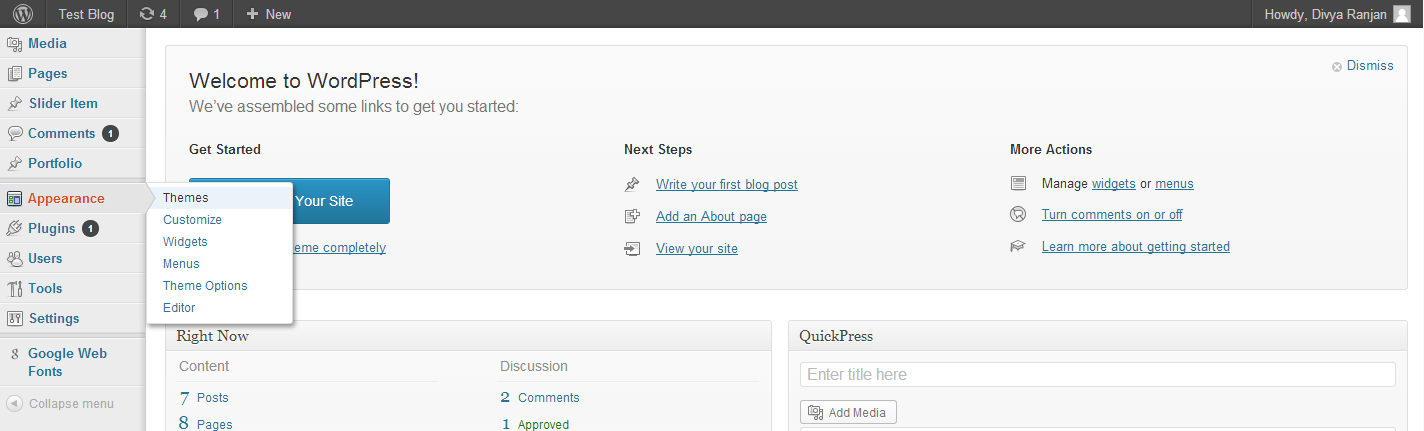
After you're done with any of the steps mentioned above, navigate to Appearance -> Themes -> Manage Themes, then select "Blogzine" and click on activate.
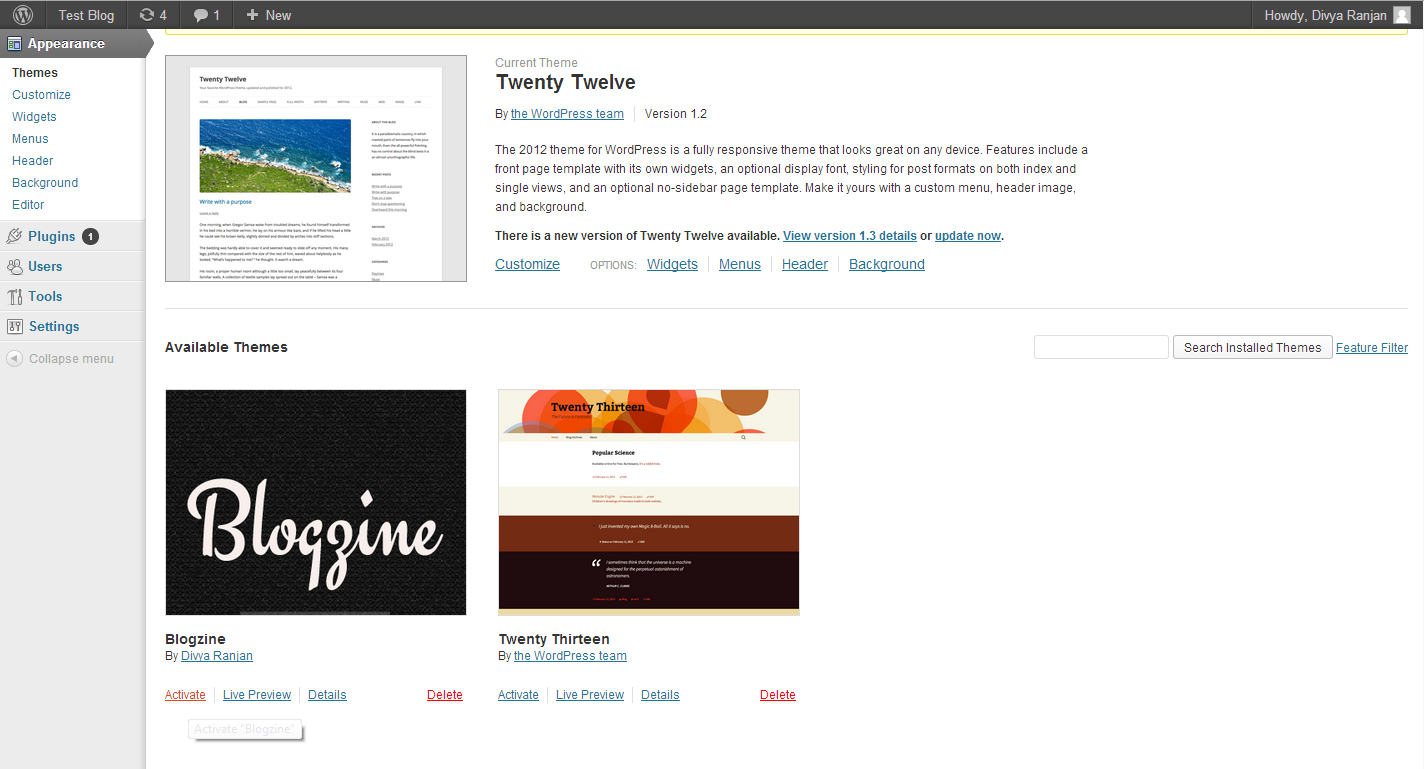 You can read more about themes here
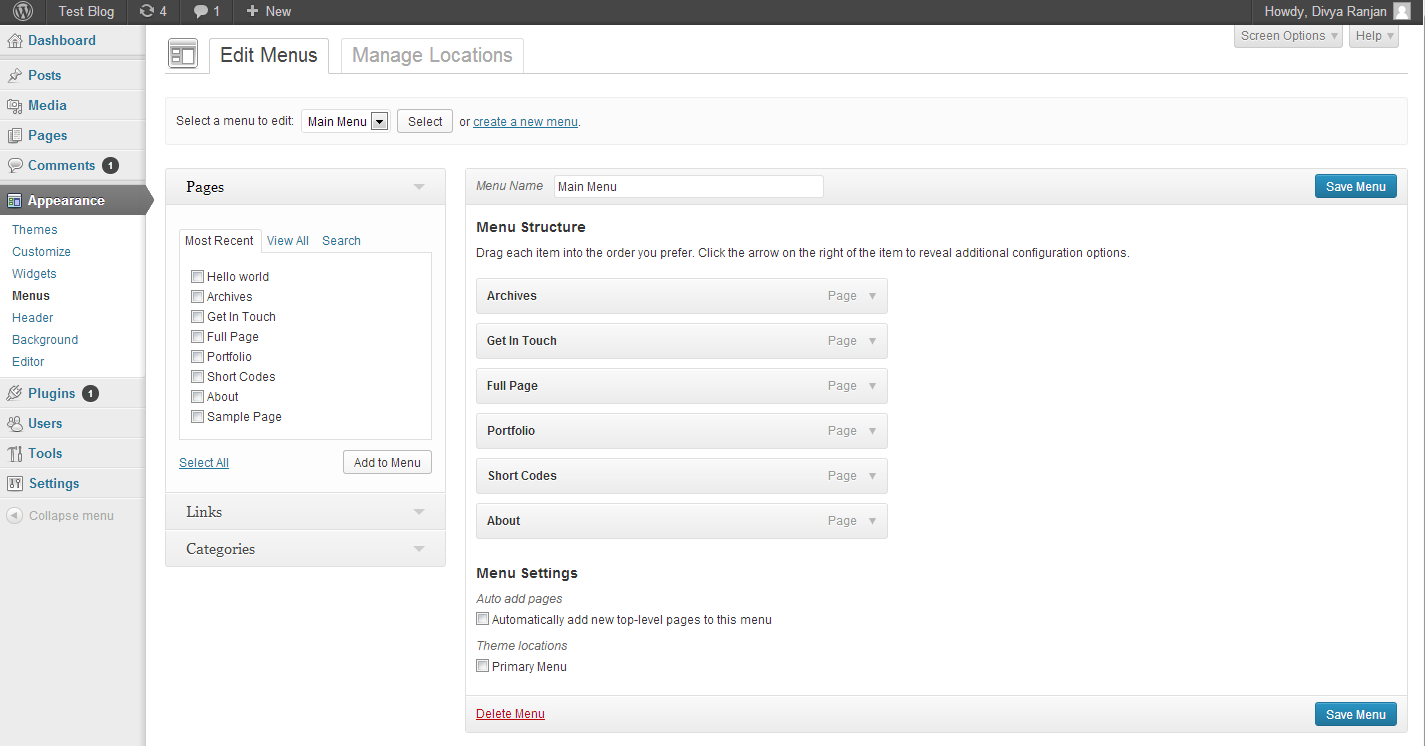
C) Create a Custom Menu - top
- Navigate to Appearance -> Menus, click on "create a new menu" and type the menu name into the input box.
- Check the checkbox inside "Theme locations".
- On the left side you'll see Menu items, select the ones you want your menu to contain and then click on "Add to menu".
- Click on "Save Menu", after you're done with everything.
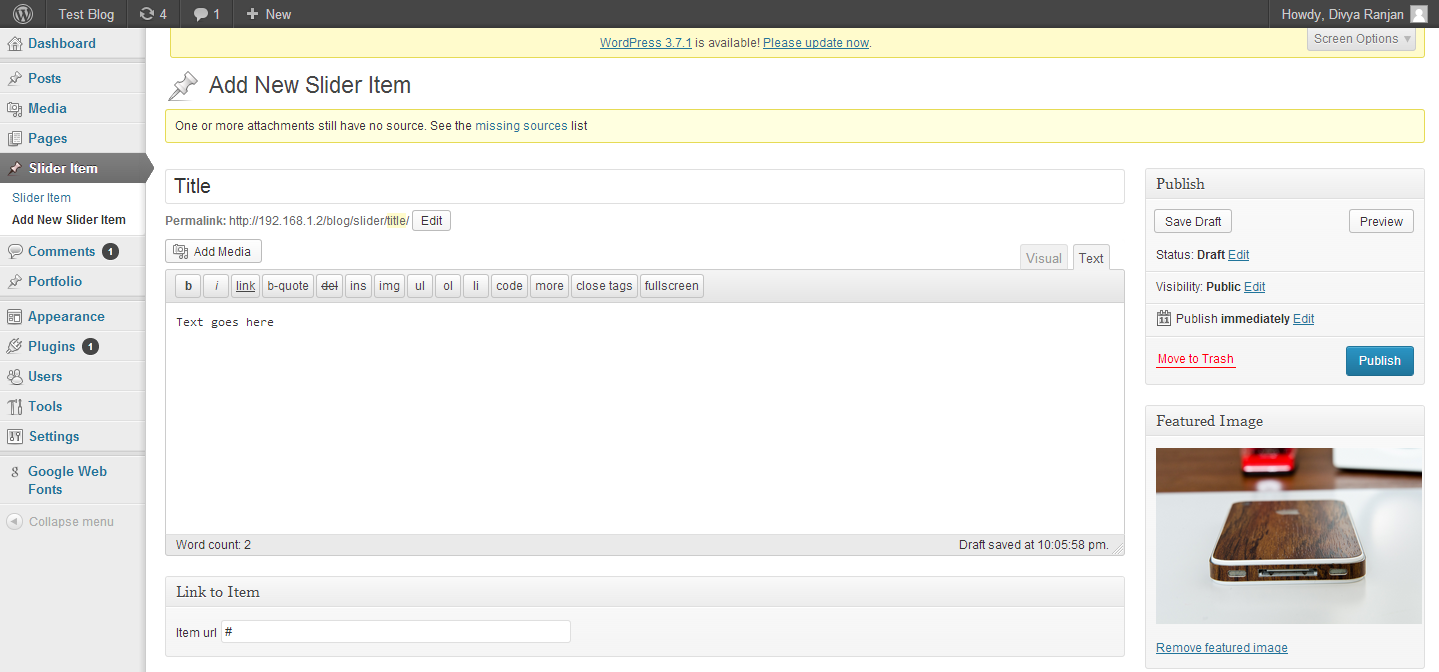
D) Setting up the Image Slider - top
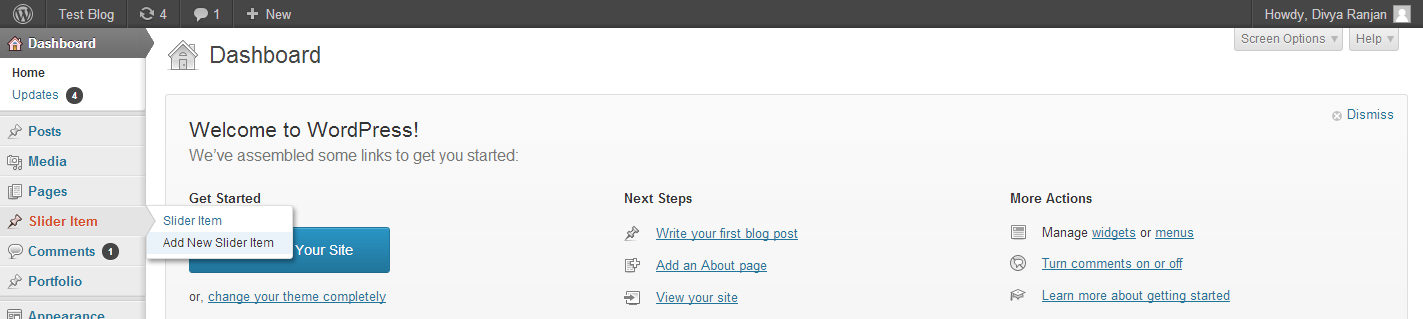
- Navigate to Slider Item -> Add New Slider Item
- Fill up all the details(Title, Link, body). Try and make the body and title as short as possible.
- Click on "Set featured image" from the Featured image box and select/upload the image you wanna use in your slider.
- Publish.
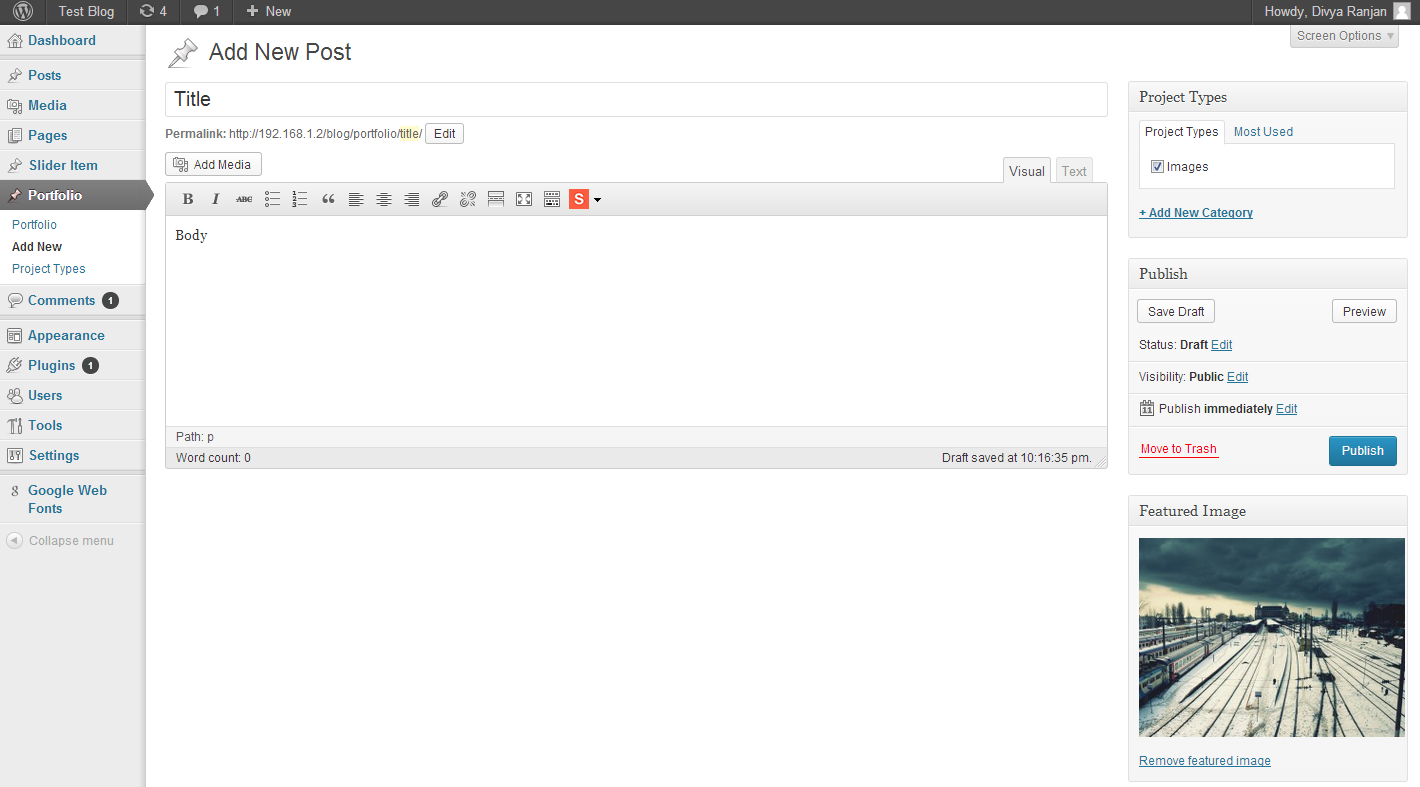
E) Setting up the Portfolio - top
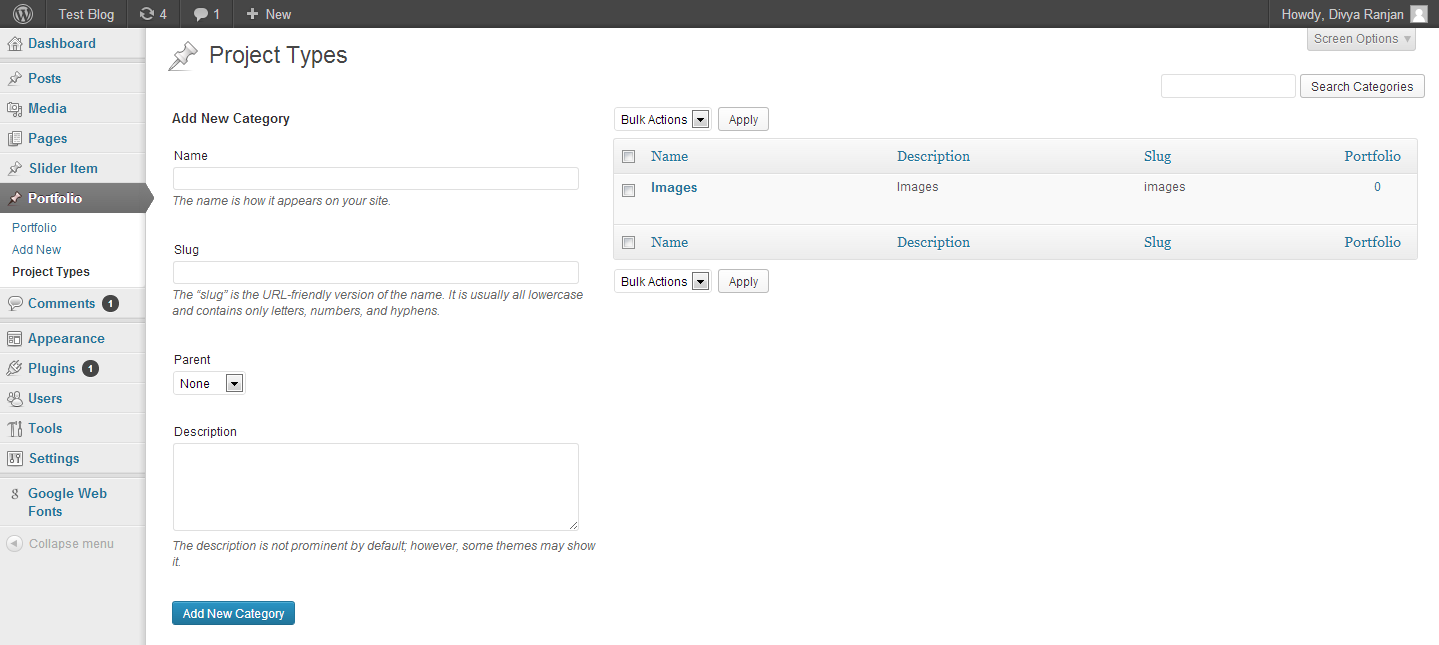
- Navigate to Portfolio -> Project Types and create a new category.
- Now navigate to Portfolio -> Add New and enter all the details of the item.
- Click on "Set featured image" from the Featured image box and select/upload the image you wanna use in for your item.
- Select the category you wanna select for
- Publish.
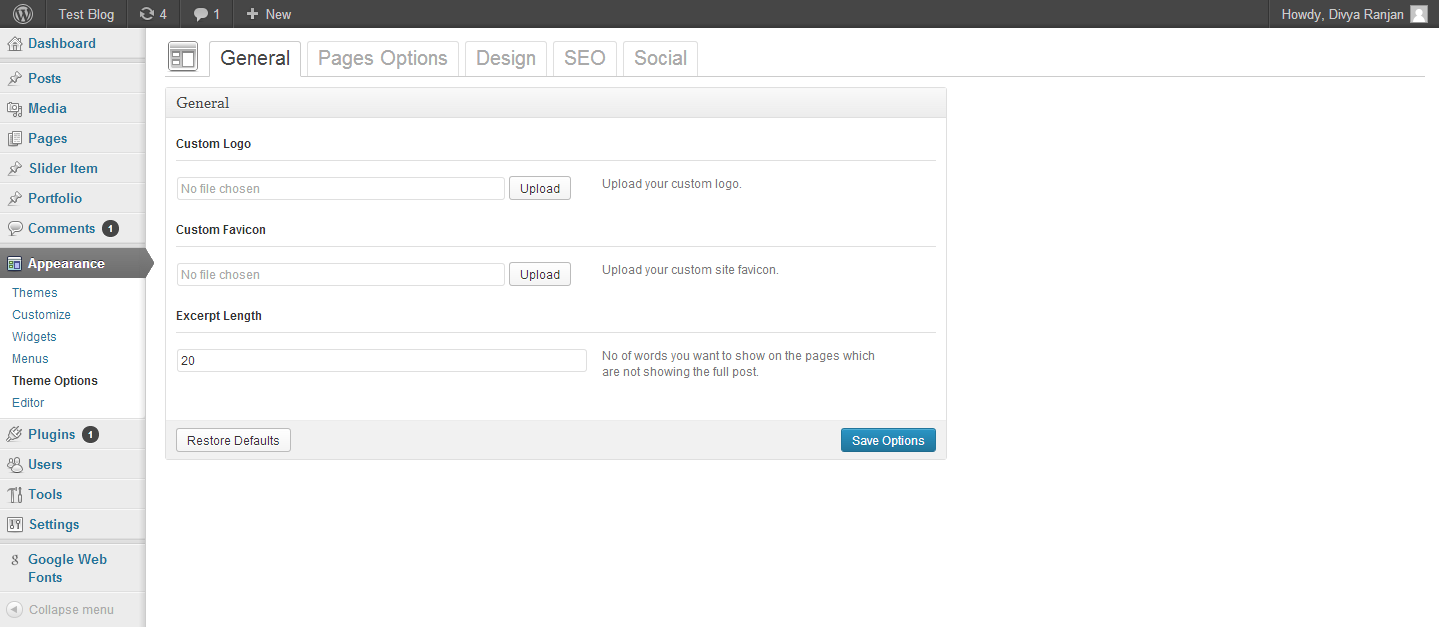
F) Option Panel - top
Blogzine contains a lot of options that can help you to customize and make the site look like you want it to be. To open the Options Page all you need to do is to navigate to Appearance -> Theme Options. The description of all the fields are given next to them so that you can easily figure out what they are all about.
G) Google Web Fonts - top
Blogzine makes it easier to use google fonts in the blog and to do that all you need to do is to navigate to Google Web Fonts -> GWF Update Page and add your Google Web Fonts Developer API key in the input, before clicking "Update Fonts List".
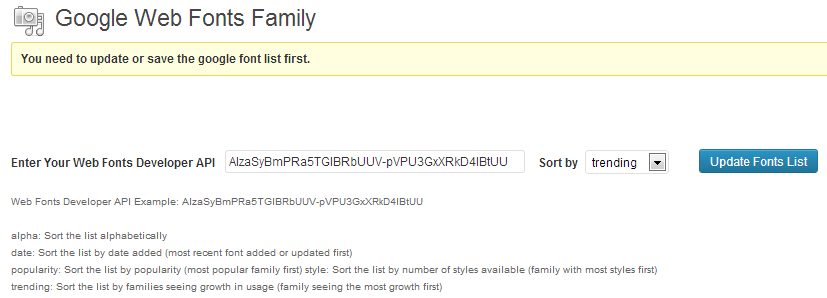
After you're done Navigate to Google Web Fonts -> GWF Settings Page and you can select the fonts you wanna use.
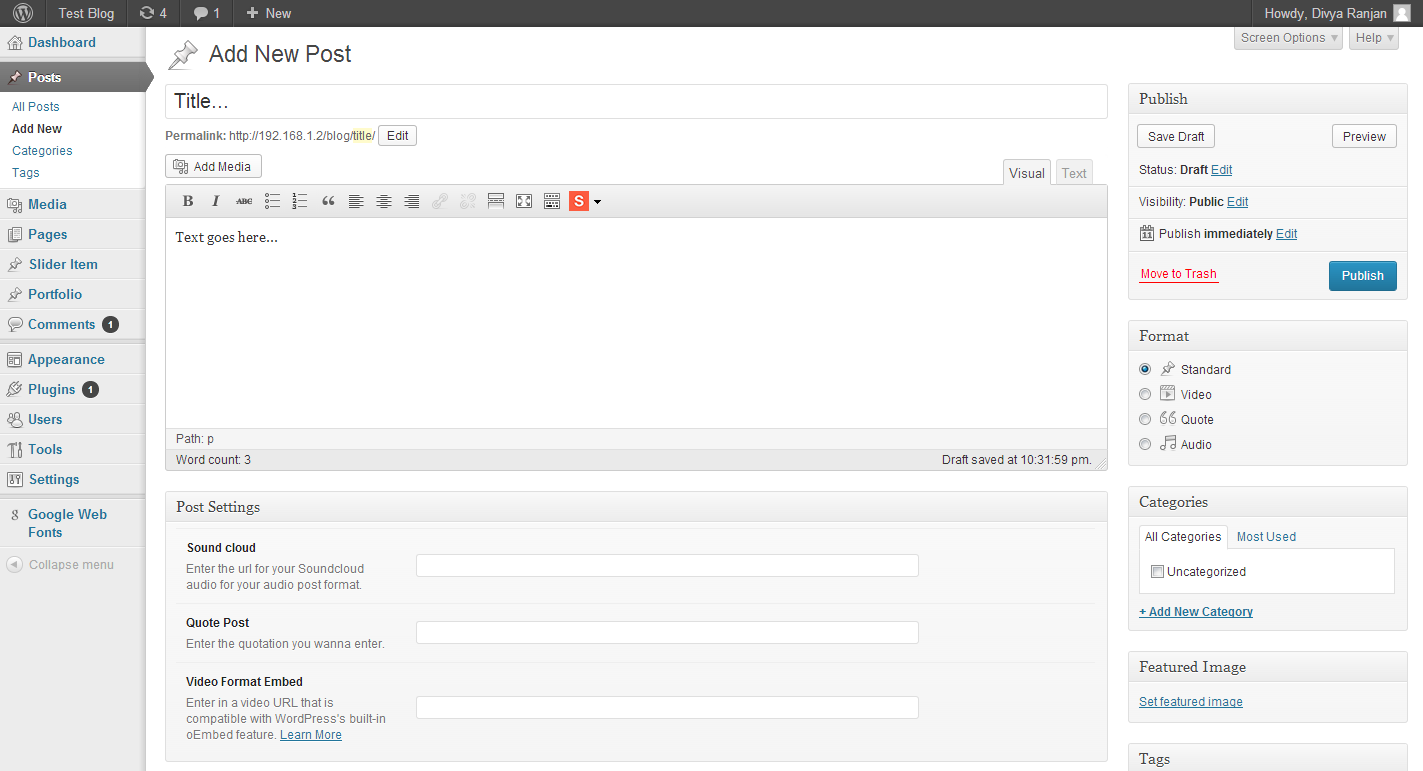
H) Custom Post Type - top
In all the post types you are required to Navigate to Post -> Add New and then continue with the following Post Types:
Standard Post with featured image
- Click on "Set featured image" from the "Featured" box.
- Select/upload the image.
- Upload it and click on "Set featured image" .
Audio(Soundcloud)
- First Copy the soundcloud audio you wanna add into your post.
- Paste that into the "Sound cloud" input field after the post.
- Select "Audio" from the "Format" box.
- Publish.
Video
- First Copy the link of the video you wanna add into your post.
- Paste that into the "Video Format Embed" input field after the post.
- Select "Video" from the "Format" box.
- Publish.
Quote
- Paste/write the Quote that you wanna add into the "Quote" input field after the post.
- Select "Quote Post" from the "Format" box.
- Publish.
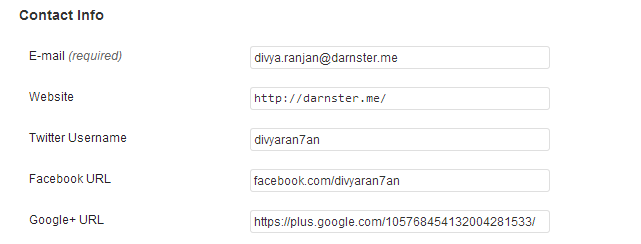
I) Author Details - top
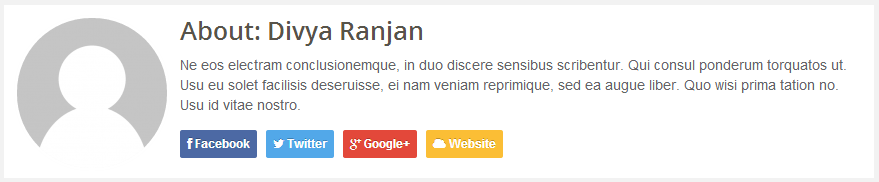
Blogzine has given all the authors option to add more information about themselves. For this all you need to do is to navigate to Users -> Your Profile and you'll see some extra options asking things like your Facebook link, Twitter Link...etc
J) Setting up the contact us page - top
- Navigate to Pages -> Add New and enter the page details.
- Click on the dropdown select menu for "Template" under the "Page Attributes" box.
- Select "Contact Us" from there.
- Publish.
- Go to google map and copy the embed's link you wanna include of the place you are interested in showing.
- Now navigate to Appearances -> Theme Options -> Page Options and paste the url into the "Google Map Code" field.
NOTE: For copying the embed link all you have to do is to copy the Link which is inside the embed code so you have to copy the link that starts after src (src=") and ends at a ".
K) Setting up the other Pages - top
- Navigate to Pages -> Add New and enter the page details.
- Click on the dropdown select menu for "Template" under the "Page Attributes" box.
- Select whatever page template you want from there.
- Publish.
L) Shortcodes - top
Blogzine has some custom styling that can be helpful with Symple plugin. So it is recomended to use symple plugin in blogzine.
Once again, thank you so much for downloading this theme. As I said at the beginning, I'd be glad to help you if you have any questions relating to this theme. No guarantees, but I'll do my best to assist.
Divya Ranjan